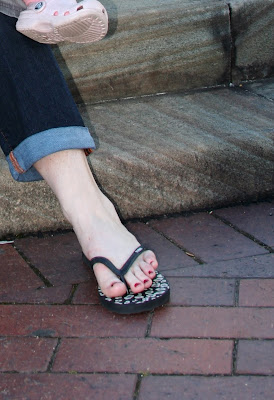
Nice simple trick to give your photos a bit of punch.
They say with divers, there are two sorts of divers, those that pee in there wet suits and those that lie about it. Photoshop and Photographers is the same so this tip is for all those that lie ;-)
Orignal


1- Duplicate the background layer.
2- Set blending mode to soft light.
3- Adjust the opacity as you like (about 50% is a good start).
After Post


Nice subtle way to boost the saturation and tonal range.
You almost have to look hard for the difference, its more of an impression, however check out the gray and the texture of the steps. (If need be right click and save the cropped shots to your desk top and flick between.)
There is no other adjustment between these two photos, NO levels, NO curves, NO dodge/burn.
For those who have a lot of photos to work with it's a very quick step and can even be added into your default actions.
The blending modes in photoshop are very clever and worth playing with. Soft light as here mutiplies light tones and dark tones together from the different layers to subtly lighten the lights and darken the darks.
p.s. This photo is not finished, jsut used like this for ilustration.
Coments, critique, abuse and questions welcome.
Cheers,
Richard B.


No comments:
Post a Comment